Claire Andreski
Period 5
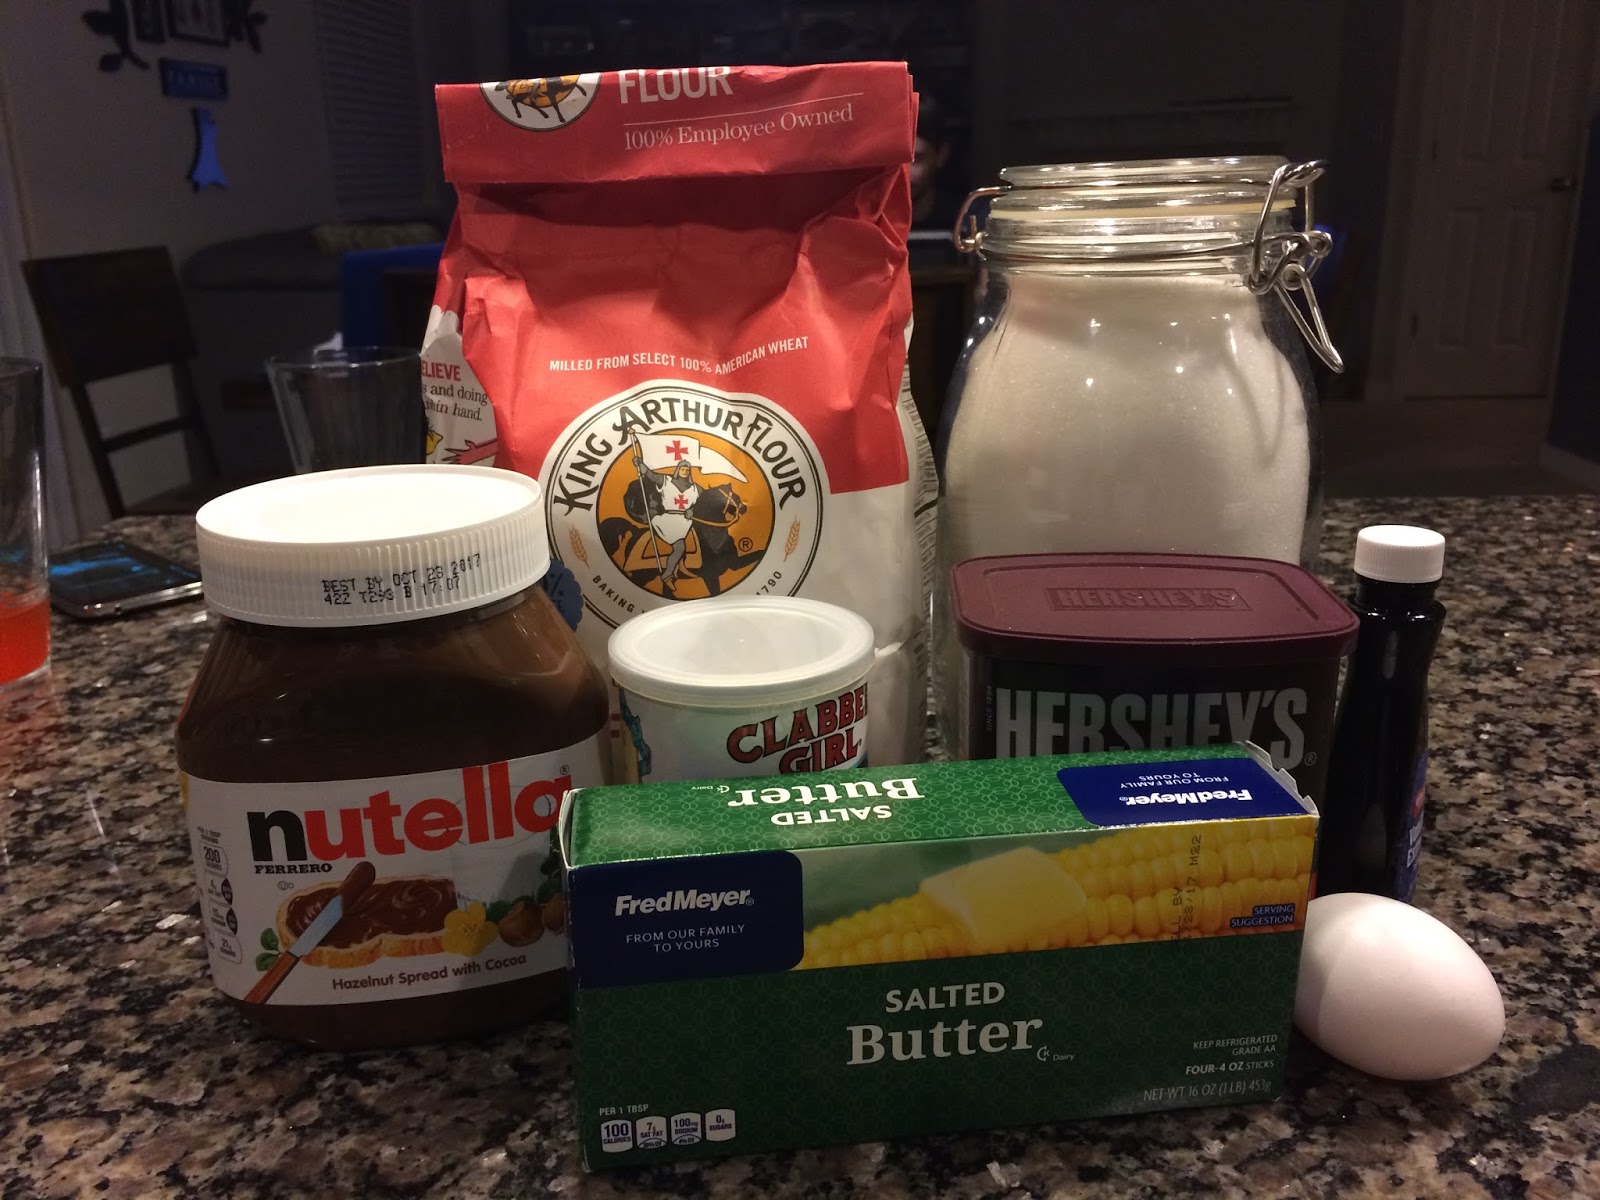
Last week, I made my first batch of sugar cookies for this project and decorated them with royal icing, as is the focus of my project. I decided to try out two of the designs featured in the section "Vive la France" of my book, 100 Best Decorated Cookies by Julie Ann Hession, and to bring them into my French class to try. The two designs that I attempted to recreate were a French flag cookie and an Eiffel Tower cookie which both looked very unique and challenging to me. I first made the basic sugar cookie recipe (and doubled it) so I would have enough cookies for my class. I used an Eiffel Tower cookie cutter that I had purchased at Sur La Table, as well as a rectangular cookie cutter for the flags. To dye the icing the proper colors of the flag, I used food coloring found in the Wilton Color Right system which you can find at Michael's or Joann's stores. I found these colors to be very pigmented and to work very well for the project.
Eiffel Tower cookies finished baking
Now, to the actual decorating part. I learned from my book, that one of the best ways to ensure a great looking cookie decorated with royal icing, is to create icings with different consistencies and to use each in different, beneficial ways. Hession states, "When you're using royal icing for designs in this book, it will be one of three consistencies: piping icing, flooding icing, or two-step icing (my personal favorite)" (Hession 23). She went on to explain that piping icing is a very thick icing that you often use to outline a shape before filling in that shape with the same color of flooding icing, which is slightly more fluid, resulting in this type of icing spreading and filling most of the cookie without assistance. Then she explained how to create two-step icing and that it can be used both to outline and flood cookies (Hession 23-24). It was important for me to read carefully about these icings and how they are used because in creating both the flag and Eiffel Tower cookies, it was necessary to use the flooding technique after outlining in piping icing. So, I first created a big batch of royal icing, waiting until the icing held stiff peaks after mixing all ingredients in (meringue powder, powdered sugar, light corn syrup, and water).

The batch of royal icing I made
Then I separated the icing into different bowls and dyed the icing into the different colors using the food coloring from the Wilton Color Right box. I used the red, crimson, blue, yellow, and black food colorings, mixing different amounts until the colors were where I wanted them and seemed to look correct. After I had created red, navy, and gray icings, I took some icing out of the red, navy, and white (main) bowl and thinned them with water to create flooding icing according to Julie Ann Hession's instructions. She said that, "To reach flooding consistency, add liquid (either water or lemon juice) to piping icing 1 teaspoon (5 mL) at a time, stirring after each addition" (Hession 23). I followed these directions, using water, and found that 1-2 teaspoons thinned the icing to just the right consistency as described in her book, to the point where it could pass the "ribbon test" she described in the book.
The piping and flooding icings separated into different bowls.
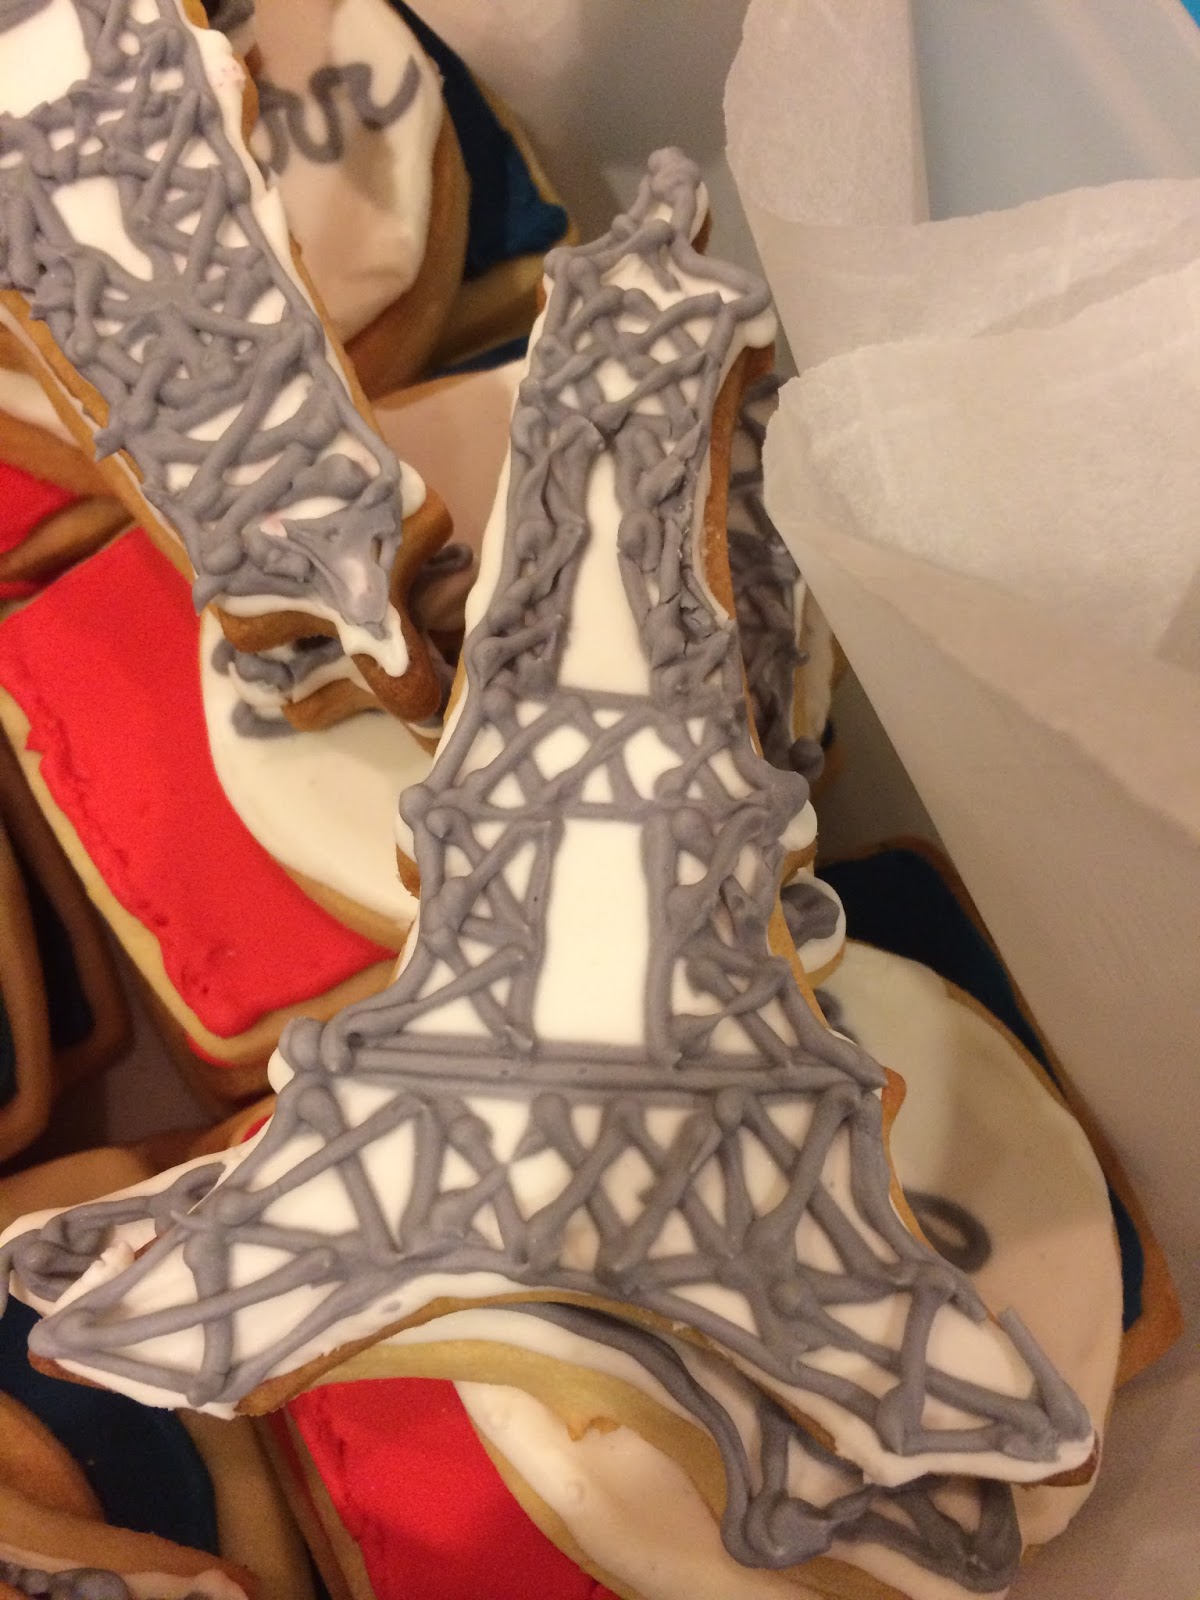
After I had my icings ready, I fitted them into piping bags with different, round piping tips, corresponding to whether it was flooding or piping icing (I put smaller tips with piping icing for the outlining/details which needed to be more precise and bigger tips with the flooding icing). Then I outlined the shape of the Eiffel towers and the French flag into rectangles by color. Then I flooded with the corresponding color. For the Eiffel towers, I outlined the whole shape and flooded with white, then went back on top with gray piping icing for the details.
The French flags and the first Eiffel Tower cookie on the drying rack.
Working on piping the Eiffel Tower design like the book.
Close up of the piping on an Eiffel Tower cookie.
In piping these cookies, I found some things out that I had not known before. I learned that you have to work quickly with the icing because the royal icing began to harden quickly, which I discovered when the tip of my piping bag became blocked by hardened icing. I poked it with a toothpick and the problem was solved, so it was not too big of a deal, but is just something I had and will have to keep in mind. It could affect your decorating if you need to pipe something on while the icing is still wet and it dries when you might not expect it to. I also learned that I could thin out the flooding icing even more because although it spread out, I had to use a toothpick quite a bit because the consistency was a little thicker than I believe it was supposed to be. I was worried of thinning out the icing too much because in the book Julie Ann had warned, "If you have a heavy hand with the water or lemon juice, your icing may be too thin" (Hession 34). So for next time, I will thin the flooding icing out just a tiny bit more for easy of piping. In addition, I felt that my cookies were a bit overbaked, so I realized that the baking time listed was more important to follow than the actual color of the cookies. Lastly, I realized that it is very important to make some extra icing because I just had enough for 32 cookies and was starting to worry at the end about running out of icing. These are all things I will take into consideration for my next batch of cookies. :)
Have any of you made royal icing before? Did you use the pipe and flood method or a different decorating method? What is your favorite way to decorate cookies?
Citation: Hession, Julie Ann. 100 Best Decorated Cookies: Featuring 750 Step-by-Step Photos. Robert Rose, 2013.