Showing posts with label Abad Allison. Show all posts

Thursday, January 26, 2017

Flower Cookies

Welcome to my fifth and final blog post! For this last batch of cookies, I wanted to do a design that was more challenging but still kept it cute and simple. It wasn't long before I found some that matched this criteria perfectly.

Daisy cookies! Edwards' praises the versatility of these cookies by saying, "Because these daises are perfect for a variety of occasions, they're a great "go-to" project when you want to make cookies and can't decide on a design" (Edwards 30). I was especially drawn to the fact that these cookies could be done in just three steps.

For the cookies to turn out exactly how they were pictured in the book, Edwards recommends using her vanilla-almond sugar cookies cut into daisy shapes, royal icing tinted egg yellow and white, and an icing tip #3. I already ran into a couple problems: 1) I would be using the leftover chocolate-hazelnut cookie dough instead of the vanilla almond ones 2) I don't have daisy cookie cutters 3) I don't have yellow food coloring and 4) I also don't have a #3 icing tip. Since I couldn't replicate the cookies exactly, my flower cookies are "inspired" by her daisy cookies.

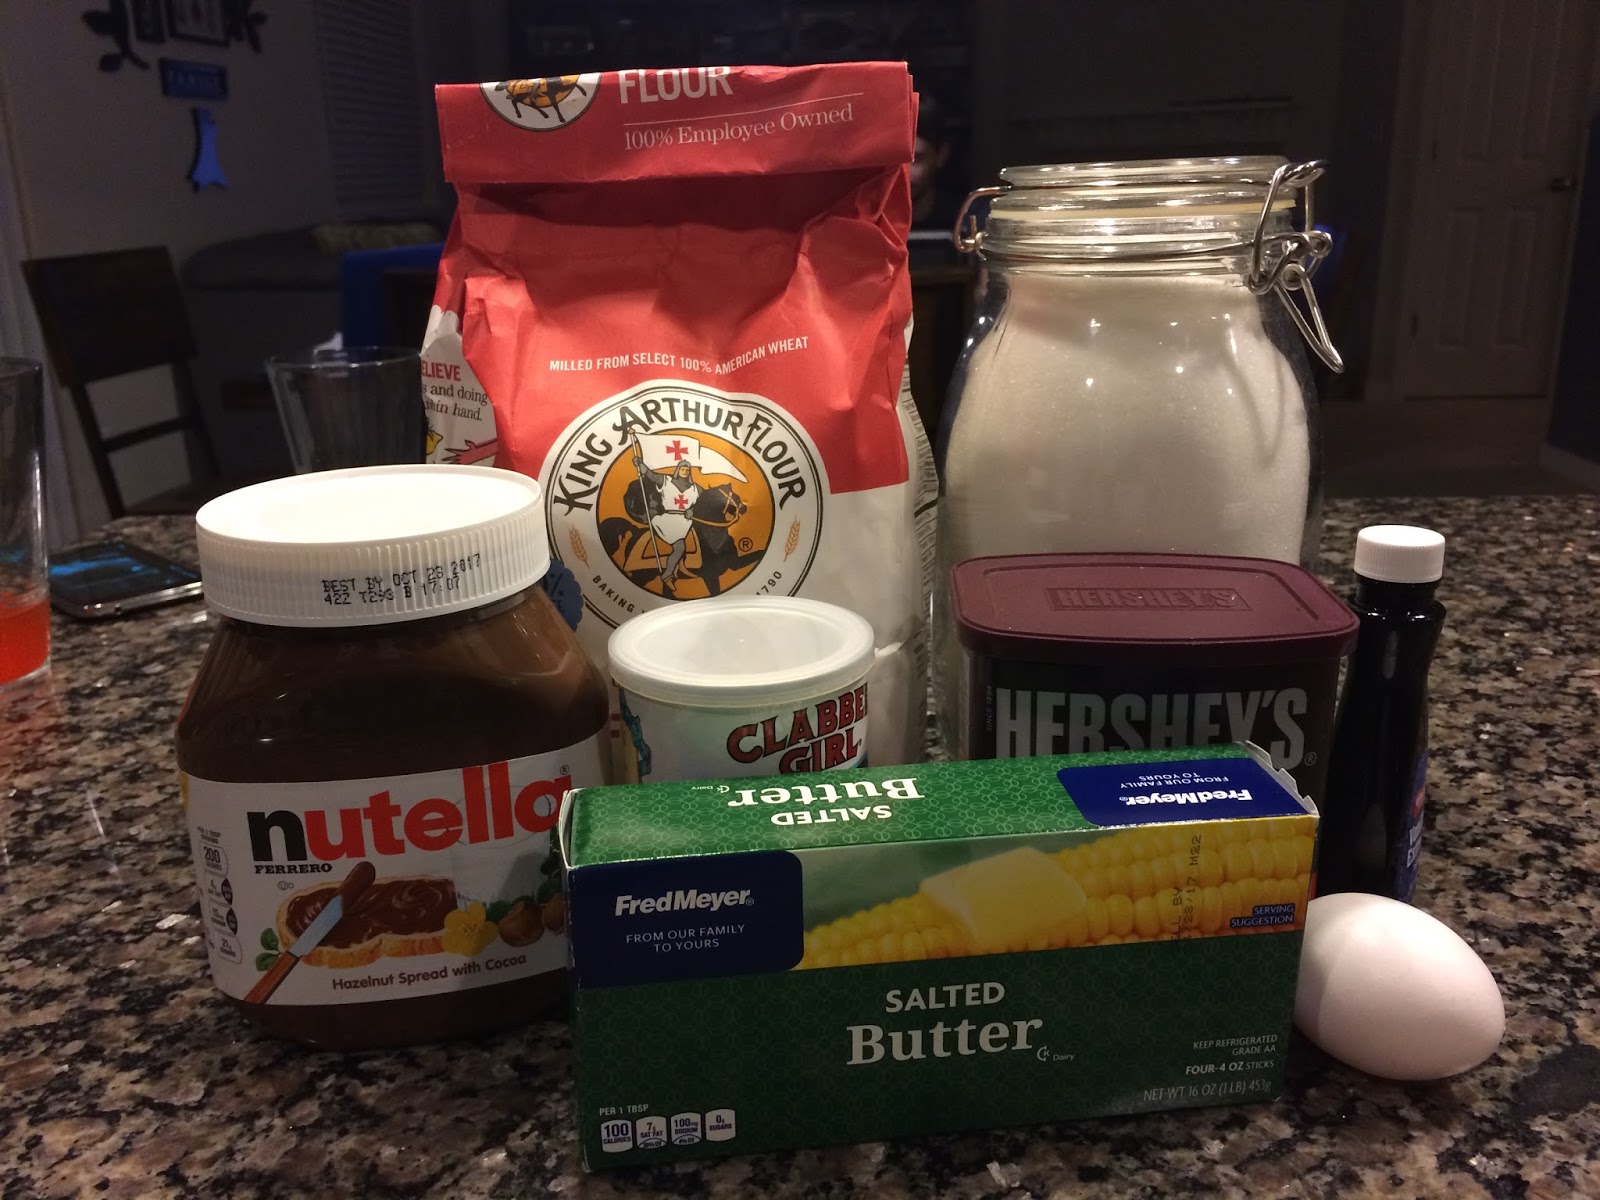
I started by cutting out the cookie dough with the flower shaped cookie cutter I actually did have. While those were in the oven, I made the icing with the same recipe I used in my second blog. I thinned out half of the icing, dyed it purple, and poured it into a squeeze bottle. With the remaining icing, I dyed it white and carefully put it into a piping bag.

On to decorating the cookie!

On each of the cookies, I piped a white circle in the middle and outlined each individual petal as best as I could. Once that set, I took the purple icing and squeezed an even amount into each petal. Using a toothpick, I gently spread the icing until it covered the entire petal and was touched the entire white border. The toothpick also helps to remove any air bubbles.

As you can see, my cookies weren't... perfect. Although, I do still consider this a success. I made more than two cookies, but when I came back to check on them the next morning, a few were missing (due to my sisters who insisted that it was okay to eat them without asking). Of the ones that were left, this was by far the best one.
One thing I was never able to try throughout my whole experience with sugar cookies was trying different flavors of royal icing. Have you ever worked with royal icing? Do you have any advice when it comes to flavoring it?

Icing Techniques - Marbling

                According to Galen Berry, a professional marbler, “Marbling is the art form of printing multi-colored swirled or stone-like patterns on paper or fabric.” Although, as marbling has become increasing in popularity, people have begun to get extremely creative with marbling different objects.

Water-marble Mugs

Water-marble Nails
These are just some examples of how people have taken the concept of traditional paper marbling and turned them into some pretty cool projects. 


In my book, Edwards includes a section on creating a marbled look on your cookie, which she uses several time throughout the book in her designs.The procedure is fairly simple, to begin, Edwards says, “Outline two or more cookies and then thin out two (or more) colors of icing for flooding” (Edwards 18). The purpose of having to use multiple colors when marbling is so you can easily swirl and manipulate the icing to achieve your “marbled” look.

The first cookie I did, I used white icing to outline and flood the cookie and an orange color for the marbling. As I was flooding the cookie, I immediately noticed I overfilled it. The icing was barely being held in by the outline I piped. I continued anyway and added orange lines across the cookie. Then, using a toothpick, I ran it up and down the cookie, vertically crossing the lines I made with the orange icing. It looked similar to the picture in the book, so I set it aside to dry. When I came back 5 minute later, the icing had spilled over the cookie in four different places and the marble design was nonexistent.
Although, now that I had gone through the procedure once and understood how easy it was, I decided to try it again. I tried the white and orange again, but in an attempt not to overfill it, I did not fill them up enough and you could see part of the chocolate cookie underneath. My next attempt, I used white and purple. The design came out nicely, but the border was a bit messy. This was because I felt the need to keep reinforcing the edges of the cookie to make sure nothing went over. My last design I think came out the best, I used white icing for the outline (which I did for all the cookies because I only had one piping bag and was too lazy to take all the icing out and tint it) and pink and purple icing for the marbling.


Do you have any tips on flooding cookies so I can get results that are more consistent?

Saturday, January 21, 2017

Chocolate-Hazelnut Cookies


Hello and welcome back to my blog! My previous success with plain sugar cookies convinced me I could tackle something much more complex (or at least what I consider to be more “complex”). So, for my third blog post I decided to focus on different flavored sugar cookies. While first flipping through Brigit Edwards’ sugar cookie book, her recipe for chocolate-hazelnut cookies caught my attention right away, because who isn’t intrigued by anything involving chocolate? According to Edwards’ husband, these cookies are, “’as close to a brownie as a cookie will ever get’” (Edwards 24). After reading this, I immediately knew that I wanted to attempt them myself.   

Ingredients:
2 ½ cups unbleached, all-purposed flour
½ cup dutch-processed cocoa powder
1/8 teaspoon coarse salt
2 teaspoons baking powder
1 cup salted butter, cold and cut into chunks   
I cup sugar
½ cup Nutella
1 egg
I teaspoon pure vanilla extract


               Once I was sure I had everything ready and prepared, I really started by whisking together the flour, cocoa powder, salt, and baking soda in a bowl and setting that mixture aside. I then combined the butter and sugar in a stand mixer, followed by the Nutella and egg. I slowly added the flour mixture, scrapping down the sides of the bowl when necessary.

               The next step was to separate the dough into two parts, mold each one into a disk shape, wrap them with individually with plastic wrap, and place them in the fridge to chill. Once 30 minutes had past, I took out one of the disks out and cut it in half, I put the rest of the dough in the freezer to be used another time. I lined my rolling area with wax paper and dusted it and my rolling pin with a mix of flour and cocoa powder. To cut the cookies, I used a small, star-shaped cookie cutter that was only about two inches big.


The instructions say to bake them for 9-12 minutes, but because mine were so small and thin, I took them out about 2-3 minutes early. Once they were out, I left them to cool for 2 minutes.
After taking my first bite of the cookie, I realized Edwards’ husband was right, they do taste exactly like brownies. These little chocolate cookies turned out pretty good and I’m excited to use the rest of the dough in the future.
I noticed myself being a lot more patient and much less frustrated through this whole process, which typically isn’t something that happens while I bake. Although, I think a lot of it had to do with the fact that I chose to listen to music to drown out anything distracting, and focus only on the task at hand. What are somethings you do that help you focus when you are frustrated or annoyed with something? A little more related to the cookies, how should I decorate/design my next batch?


Saturday, December 31, 2016

Snowflake Cookies


My first attempt at making sugar cookies did not go as I had hoped. Before beginning this project, a second time, I looked back at my previous blog post, which did anything but boost my confidence levels. Despite my previous failure, I still planned on actually decorating my second batch.
Upon flipping through the book, I came across some snowflake cookie. In comparison to the other cookies, they seemed fairly simple. But based on past baking experiences I knew they would not be nearly as easy as the book entailed.
In the book, Edwards recommends using her recipe for gingerbread cookies in order to stay consistent with the “winter theme”. However, I chose to stick the basic cookies and mastering those before moving on to more complex recipes. While the cookies were chilling in the freezer, I went over what went wrong with the last batch of dough. I soon came to the realization that we had used the wrong type of flour. Once I took the cookies out of the freezer, I immediately placed them in the oven at 350 for 9 minutes. Edwards recommends freezing them before baking to ensure the cookies maintain their shape.
I then began making the royal icing. On page 16 of her book, Bridget Edwards gives thorough instruction on making the icing.
Royal Icing Recipe:
-        ½ cup meringue powder
-        1 cup water
-        2 lbs. powdered sugar
-        2 tbsp. corn syrup
You begin by combining the meringue powder and water in a stand mixer until they are combined and frothy. After, you add the powdered sugar and corn syrup and mix again until fully combined. At this point, I was reminded of why I dislike baking so much.


The icing was too thick to be piped through the icing tip I would be using. I began thinning it out by adding small amount of warm water. Once it reached the right consistency, I scooped about a fourth of it into a piping bag. At this point, I had taken the cookies out of the oven and they had been left out long enough to cool. I piped a thin lining along the edge of the cookies. I scooped a fourth of what was left in the mixer into a separate bowl and tinted it a light blue color. 

I then thinned out the remaining icing until it reached the consistency of thick syrup and poured it into a squeeze bottle. With the icing in the squeeze bottle, I “flooded” the cookies by squeezing the watery icing within the lining I piped before. 

Once they were dry enough to finally pipe the snowflake design, I used the blue tinted icing and followed her design to the best of my abilities. I wasn’t satisfied with the first design and just continued with the different patterns. Edwards stated that, “the royal icing needs overnight time to dry thoroughly and the icing kind of ‘seals’ the cookie from getting stale.

               The next morning, I returned to the cookies to find they had hardened completely, just as they should have. I decided to take a bite of one and immediately regretted it. It sucked. Though that is mostly because royal icing is incredibly sweet, since it is made almost entirely of powdered sugar. What can I add to the icing next time to make the cookies a bit more enjoyable to eat? 

Tuesday, November 29, 2016

Making Sugar Cookies

               Sugar cookies are supposedly one of the easiest types of cookies to bake. In fact, when talking about her vanilla-almond sugar cookies, Bridget Edwards, author of Decorating Cookies 60+ Designs for Holidays, Celebrations & Everyday, says in her book, “This is my go-to sugar cookie recipe. I could make them in my sleep (and probably have)” (Edwards 22). I, however, lack the ability to follow baking directions correctly, so the first batch of cookies didn’t even make it into the oven. I’ve never been great at baking, but I was willing to give these vanilla-almond sugar cookies a try. The recipe I used for these cookies came directly from Edwards’ book.

Ingredients:
3 cups unbleached, all-purpose flour
2 teaspoons baking powder
1 cup salted butter
1 cup sugar
1 egg
¾ teaspoon pure vanilla extract
½ teaspoon pure almond extract

She also gave the option of leaving out the vanilla and almond extract for “a cookie that is all buttery-sugary goodness” (Edwards 23), and because I did not have either, I chose to do that. Acquiring all the ingredients was difficult to do at the time so I made this batch of dough with a friend who did have the rest of what we needed. After gathering the ingredients, the directions seemed fairly simple. You begin by whisking the flour and baking powder together and setting that aside. 

Then, using a stand mixing, combine the butter and sugar until it is fluffy, at which point you add the eggs and vanilla and almond extracts (if you are using them). This step was much more difficult since we did not have a stand mixer and had to rely on a hand mixer instead. We continued beating the ingredients together until the mixture reached what we thought was the right consistency.


The next step was adding the dry ingredients with the wet ingredients, which we did little by little until everything was combined. This is when we began to notice how wrong our dough looked. It was dry, crumbly, and falling apart. We flipped to the “troubleshooting” section of the book where we found the only answer to our problem was just to continue kneading the dough until it reached the right texture. I took my section of the dough and began kneading, but even after a very long time it didn’t get any better. I actually think it got worse. 
Even though this first try did not work out very well, I definitely plan on making them again for future blogs. What are some things I can do different next time to get more successful results?