Showing posts with label Exercise. Show all posts

Saturday, January 27, 2018

Strength Training: Low-Pulley Front Raises


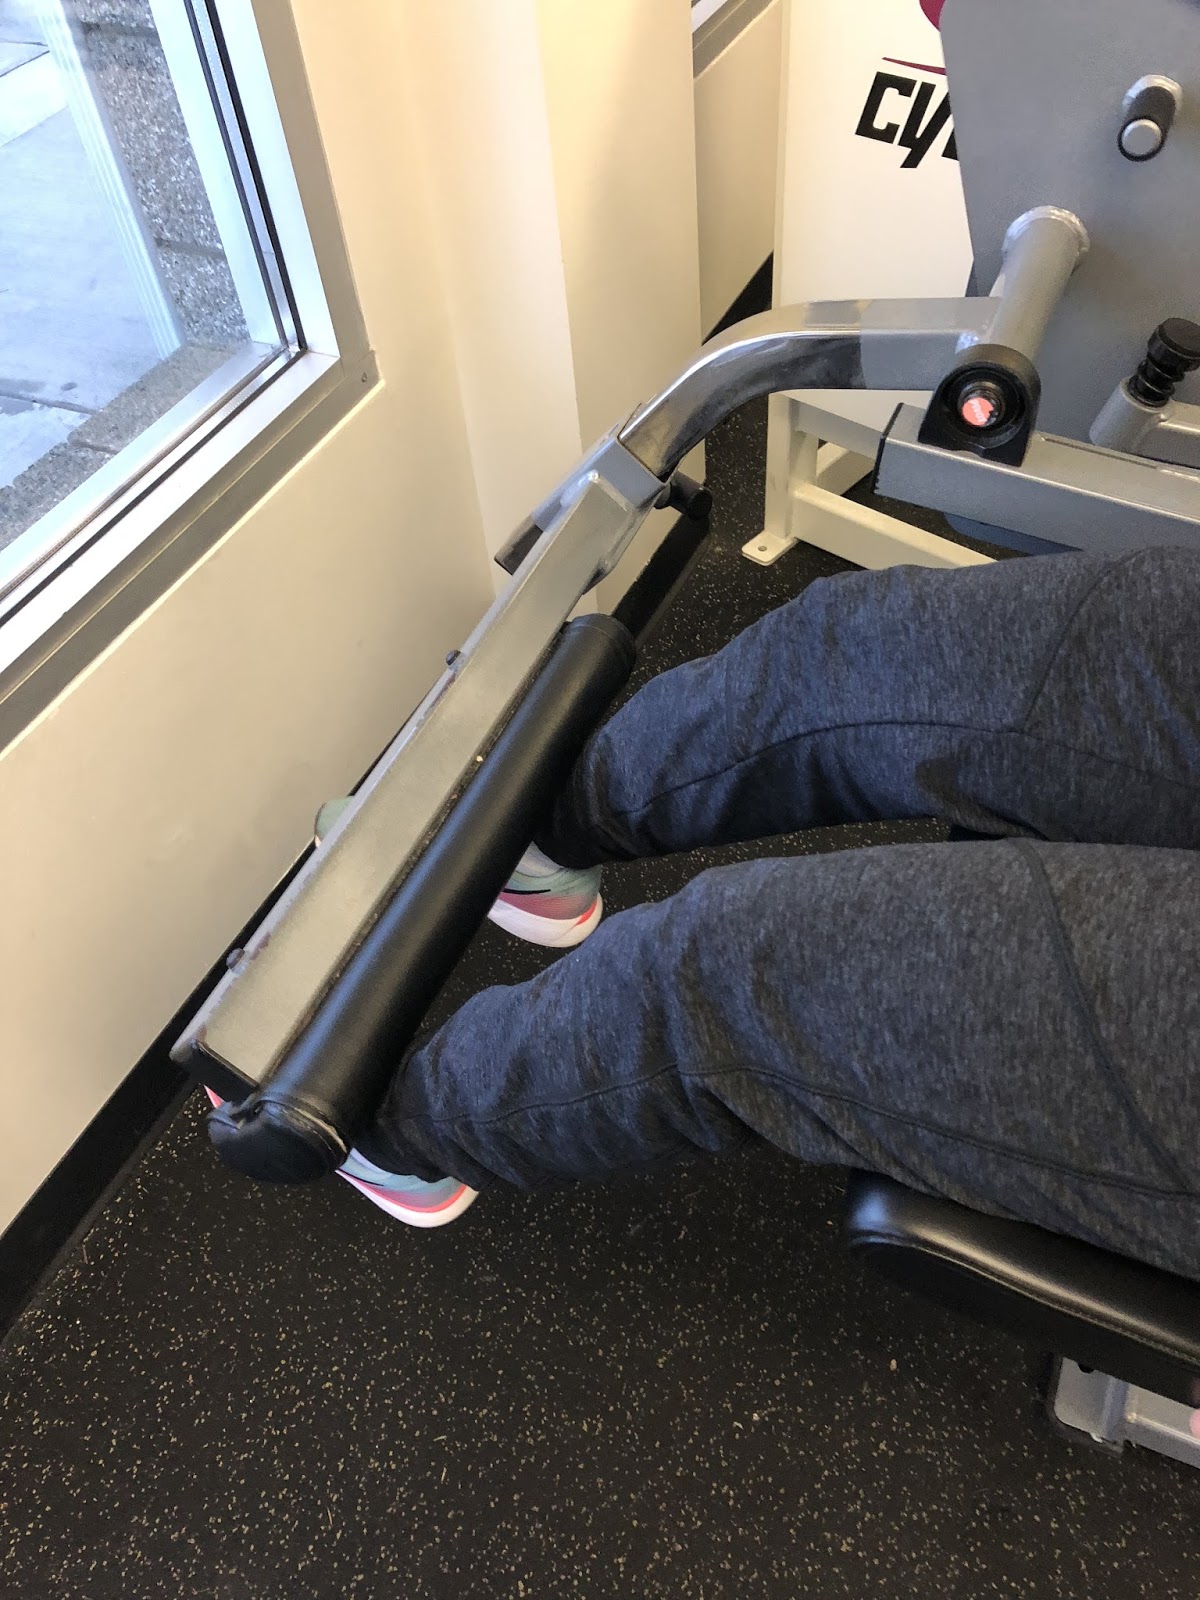
Hello everyone! Welcome back to my blog.  I hope everyone is doing well and staying healthy during this rainy weather. Today, in this post I will be educating you on how to perform low-pulley front raises. This workout works many muscles which are both the middle and anterior deltoids and the pectorals.

The pectorals or, also known as pecs, are the major muscles that make up your chest. Low-pulley front raises strengthen the pectorals along with the deltoids and also make the muscles more toned and firm when flexed. In order to do this exercise follow the following steps. First, stand shoulder width apart with your arms by your side holding the dumbbells with a semipronated grip. A semipronated grip is the same grip you use to hold a hammer. To grasp the dumbbells in a semipronated way you lay the dumbbell in the palm of your hands and then form a fist around the dumbbell (Delavier 47). Next, inhale and slowly raise the arm forward up to eye level so your arm is parallel to the ground. After that, exhale and slowly lower the dumbbell to the starting position. I would recommend to do 10 reps each arm when you begin this workout and you can slowly increase until you are completing 15 reps each arm.


Low-pulley raises are great to improve the strength of your deltoids. Delavier writes "This exercise is excellent for people who have difficultly developing the anterior deltoid. The semipronated grip engages the humerus in external rotation, which at the beginning of the movement stretches the anterior fibers of the deltiod, allowing you to feel them working" (Delavier 47). Which means that this exercise improves the deltiod muscles. Also, the way in which you grip the dumbbells stretches the anterior fibers of the deltoid making the burn you feel from the workout more dramatic and makes you aware that you are performing the exercise properly.

After performing this workout, I learned some tips that may be helpful. When doing this workout it is important to extend your arms but don't over extend them. You want to still be able to bend your elbow. Do not lock your elbow because it can cause pain after completion of the exercise which is a sign of overuse. Another, helpful tip is make sure to contract your abdominal muscles because you want to maintain good posture to avoid back pain. Finally, a variation of this exercise is wearing a harness. Wearing a harness helps keep your abdominal muslces contracted to prevent back injury.

Ultimately, I enjoyed doing this workout for the most part. I liked the burn I felt due to the semipronated grip because it truly shows you are gaining something from this workout and strengthening your muscles. However, I did have some elbow pain after completing this exercise from overextending and locking my elbow. But, with more experience and practice this will no longer be a problem for me and the exercise will be truly enjoyable and beneficial. Thank you for reading yet another one of my blog posts. I hope you can use this exercise during your next trip to the gym. I am appreciative of your support and interest in my writing. Now that you know I injured myself from improper technique, have you ever suffered a injury from performing a exercise improperly?

Works Cited
Delavier, FreÌdeÌric. Strength Training Anatomy . Third ed., Human Kinetics, 2010.


Wednesday, January 24, 2018

Backpacking and Hiking: Training

Jason Stevenson, the author of the book, The Complete Idiots Guide to Backpacking and Hiking, states, "Your hamstrings, quadriceps, and glutes are often the limiting factor in how many miles you can hike" (Stevenson 69). I learned this first hand after finishing the Poo Poo Point trail last week and having very sore legs the next day. This caused me to realize I needed to work more on my leg strength in order to complete harder hikes. In this blog post I will be discussing the leg exercises I 
have been doing that were recommend by my book. 

The first exercise I did was leg extensions on a machine, this works out mostly your quadriceps. In this exercise, you set the machine to your appropriate weight and slowly raise your legs up and back down. I completed 2 sets of 20 reps on the leg extension machine. Stevenson also recommends to push your self but not too hard to where it becomes unsafe (Stevenson 68).


Leg Curl Machine

Along with leg extensions, I also completed leg curls which work your hamstrings. This exercise includes setting the machine to a appropriate weight and slowly pushing your legs down and back up again. I also completed 2 sets of 20 reps on this machine. 

By working out my leg muscles 3 times a week, I am able to become I stronger hiker and become able to complete longer and more strenuous hikes. Overall, reading Stevenson's book has allowed me to grow my love for hiking and become a stronger and more educated hiker. I was able to hike more, and not just in the summer, along with more hiking experience. Do you think training is important to complete task like hiking, if so why? Thanks for reading!


Stevenson, Jason. The Complete Idiot's Guide to Backpacking and Hiking. Indianapolis, IN: Alpha Books, 2010. Print.


Sunday, January 21, 2018

Staying Balanced

Throughout my dancing, I've always struggled with balance. I struggled with finding my center, which has effected the quality of my movement. As the caliber of dancing has increased, so has the importance of staying balanced.

In Ballerina Body by Misty Copeland, Copeland talks about a section of dance where balance is most important. "'Adagio' refers to slow movement in the ballet technique" (Copeland 67). She mentions that "Adagio is about flexibility, strength, and fluidity in the movement" (Copeland 67). In order to bring these other elements into the adagio, you need the support of balance to bring a sense of gracefulness to the dancing.

Misty Copeland recommends an exercise to help develop balance. This exercise is done on the floor, which helps you find your center before standing. "On the floor you acquire a sense of balance and where your weight should be in order to leverage it to make your legs appear higher and more extended in opposition to your upper body" (Copeland 67).

This balancing exercise puts your body into a V-shape, which will give you a sense of where your weight should be. She gives these instructions:

- "Lift you legs into the air by bending you knees, holding the backs thighs with your hands with your legs still bent and parallel of each other" (Copeland 67).
- After straightening your back into a V-shape, try balancing in that position for around a minute. This exercise should be done slowly to improve balance (Copeland 67-68).

I have used this exercise in class to help me find where my weight should be. It has been very helpful. After doing this every other day for around two weeks, I have noticed improvement in a few different moves.

One common move that requires balance and focus is an arabesque. I have found this exercise to be helpful in holding this position, especially on pointe.


I hope you find this exercise helpful! How important is balance in your sport? Do you use any helpful exercises? Thanks for reading!

Thursday, January 4, 2018

Baseball Pitching (Post 3): The Curve Ball

The Curveball

The Curve ball is one of the most useful and deceiving off-speed pitches in the game. The curve ball excellent for putting batter off-balance and it keeps them guessing which pitch is going to be thrown next. In this post I will be discussing why the curve ball is useful, when to use it, and of course how to throw. The curve ball, as a pitcher is my favorite ball to throw, as a batter it is not as fun.
How to Hold
Similarly, to knuckle balls, there are a few different ways to throw curve balls. First, place your index and middle finger on the seams like so:


Then, place your thumb on top of the seams that are along the same seam, but is further down on the ball. This helps with stability when releasing. And then, just like many other pitches, curl your pinkie and ring finger on the seams opposite of the index and middle. Make sure that these fingers are resting on top of the seam and not too much pressure is being used when placing them (Clark 50).


The Release

When releasing, do everything you would normally do to throw a fastball (Clark 51), except when releasing snap your arm (not too much or you can injure your arm) but just enough so that the ball rolls off your index finger and has top spin. This allows aerodynamics to take over and the seams on the ball act like wings and force the ball to drop at a steeper angle than a traditional fastball. When practicing, especially if you are a younger pitcher, don’t over use your arm especially with curve balls because when throwing can put stress on your UCL (tendon that is in your elbow) and damaging it can lead to the extreme case of Tommy John surgery.
Extra Tips:
With curve balls, I don’t suggest throwing them unless your arm is in good shape for pitching. Also just like with all the other pitches, practicing right before a game isn’t the best idea. I suggest practicing your throwing well before your first game, at least a couple of months to help build muscle memory and strengthen your arm beforehand.

Question: Do you think this pitch will be effective in the game? Or will it be too easy to hit.

Source:
Clark, Dave. Chicago: Ivan R. Dee, 2006. Print.


Saturday, December 30, 2017

Strength Training: Side-Lying Lateral Raises


Hello everyone! With 2018 approaching quickly many of you have probably developed a New Year's resolution. Resolutions can be anything, but many people choose to focus on increasing their physique. If this is your resolution I can help you! Today, I will be informing you how to correctly execute the side-lying lateral raises exercise, which helps develop the deltoids. 

The deltoid is the main muscle located within your shoulder. This workout will strengthen and will also assist with making the muscle more toned. To do this workout, you must first lie on one side on the floor or a bench, if you own one, and clench the dumbbell with an overhand grip. Remember to prop yourself up off the ground with your elbow parallel to the ground. Next, while inhaling, raise your arm to a vertical position. After that, exhale and lower the dumbbell back to your side ending the rep. Doing 10 to 12 reps is recommended, anything more puts you at risk for injury and can possibly strain your muscles.


Helpful pointers and tips: Support your back and avoid a back injury by tightening the abdominal muscles so your back will be supported. Also, having a weight lifting bench is very helpful because it prevents your elbow from becoming sore. Additionally, having a bench allows your workout to be more beneficial because you do not have to worry about balancing. However, doing this workout without a bench strengthens your core and your abdominal muscles. Finally, changing your dumbbell position from either beginning in front of the thigh or behind the thigh helps with working out different areas of the deltoid. Delavier writes "Varying the initial position (dumbbell in front of or behind the thigh) allows you to work all the deltoid fibers" (Delavier 45). This means that switching up your starting dumbbell position will help you strengthen all the deltoid fibers because there are three deltoid fibers in all which are the anterior deltoid, deltoid multipennate or middle deltoid, and the posterior deltoid. So by altering the dumbbell starting location you can work all three of these deltoid fibers.
In front of thigh dumbbell starting position.
Behind thigh dumbbell starting position.


Thank you for reading my blog I appreciate the time you spend reading my posts! I hope this exercise that I have showed you today will assist you in strengthening your deltoids. Hopefully, this workout can help you reach the physical goals that you have set for yourself. Personally, I prefer to do this workout without the bench because it helps strengthen my core muscles along with my deltoids,but what method do you guys prefer?

Works Cited
Delavier, FreÌdeÌric. Strength Training Anatomy . Third ed., Human Kinetics, 2010.


Soccer: Strike on a Volley

When you think about a competitive sport, such as soccer, you think of winning. And the only possible way to win a soccer game is to score goals. Now there are multiple ways to score a goal, for example you could simply score a 1 v. 1 goal. However, there are much more skilled and advanced ways to score a goal, such as a volley. A volley is a complex shot, but as long as you have proper coordination, a volley can be a great way to score a goal.

Now there are two types of volleys, there is a regular volley that does not hit the ground before you strike, and then there is the half-volley where the ball has a short bounce before it is kicked. For this concept, I focused on a regular, full volley.

When it comes to a striking a volley, you want your hips to be aligned with the ball and the target. You also want to make sure your body is balanced, your eyes are on the ball, making good contact with the ball, and pointing your toe down so your toes are below you ankle (42). Making sure that I was constantly watching the ball allowed me to create good contact that then enabled me to successfully strike the ball.


Once I practiced my volley using the little information above from Andrew Latham, I used some more precise details that helped me hit a much stronger volley. "On contact, strike the ball with your laces and lock your ankle joint. As you bring your foot through the ball, keep your toes below your ankle at all times. This will stop the ball from going in the air" (43). Keeping my toes down and hitting the ball with my laces made my volley much stronger and more accurate because I was able to keep the ball down.


Practicing these techniques and ideas has improved my volleying abilities and now I am able to strike the ball on a volley much stronger than I was able to before. The volley gives more opportunities to score a goal because it is a new skill that can be used for different goal scoring situations.

One question that I had when it comes to shooting and scoring goals is, which type of shot do you believe is easiest to score off of? For example, a header, ad volley, etc.

Latham, Andrew. Soccer Smarts for Kids: 60 Skills, Strategies & Secrets. Rockridge Press, 2016.  


Thursday, December 21, 2017

Soccer: Techniques When Playing a Long Ball

During a game, there may be times when you need to "switch the point of attack", or switch the ball to the other side of the field. When trying to do this, you will have to play a long ball to the other side in order for the ball to successfully make it over to a teammate. You could also end up playing a long ball on a goal kick, on a cross, or even a long shot.

When trying to play a long ball, there are certain mechanics and techniques that can be used to improve your form and approach on the ball, which can help increase the distance and the flight of the ball. Andrew Latham says that the first part to hitting a good long ball is your form. You want to be a couple feet back from the ball so you have room to run up to the ball. When you are running up to the ball, you want to take the foot you are not kicking with and place it just next to the ball so you have some space in between your foot and the ball (35). My approach to the ball then sets my body up to strike the ball in a more comfortable and proficient way.


In the picture above, I used Latham's idea and planted my foot just slightly to the left of the ball, giving me a better position to strike the ball. My back is also arched giving me a better strike on the ball and allowing the ball to get more air.

When you are actually making contact with the ball and planning to play the ball, you want to make sure you are hitting the ball just the right way so you are accurate. "...you are striking the bottom half of the ball to get the ball in the air. On contact, you should be slightly leaning back, which also helps the ball go in the air. Kick through the ball. Your kicking foot should land across your body on the far side of your plant foot" (35).


While I was performing my long balls, I kept in mind Latham's information about form and approach. All of his idea helped me set up my body to strike the ball in such a way that I was able to hit over a 50 yard ball. If you were to look at both the video and picture, you would be able to see that my foot is planted next to the ball, my back is slightly arches back, I make contact with the bottom of the ball, and I strike my leg through the ball and onto the opposite side of my body.

Building on from just a simple long ball, do you think pro's incorporate these same techniques when they are taking freekicks on frame? How do you think they perform more difficult and skilled freekicks?


Latham, Andrew. Soccer Smarts for Kids: 60 Skills, Strategies & Secrets. Rockridge Press, 2016.  

Thursday, November 30, 2017

Strength Training: Hammer Curls


Weight lifting and strength training can provide many benefits such as improve physical health, increase strength, enhance athletic performance, and can even help individuals mentally by improving self confidence. However, if bad techniques are practiced injuries can be endured. Within these blogs I will provide pointers to ensure correct techniques and will also share my experiences  performing these exercises.

The book I chose to use to complete this project is Strength Training Anatomy Third Edition by: Frèdèric Delavier. This book gives exercises that you can perform while at the gym or in your own home. Along with the exercises the book also provides diagrams of what muscles the specific exercise is strengthening and includes instruction on how to perform the exercise properly. While reading this book I noticed that I was practicing poor technique and form while weightlifting particularly while I was doing hammer curls. Throughout this blog post I will inform you how to correctly do hammer curls and how to practice proper form to avoid injury.

To begin start with one dumbbell in each hand and with your feet shoulder width apart. For beginners I recommend to use 15 pound dumbbells or less so you can master proper procedure before moving on to heavier weights. Inhale and lift the dumbbell so it is parallel with your shoulder. After that, slowly release the dumbbell to your side and remember to exhale. Breathing during exercise is key because your muscles need oxygen.


According to the author "This is the best exercise for developing the brachioradialis. It also develops the biceps brachii, brachialis, and, to a lesser degree, the extensor carpi radialis brevis and longus" (Delavier 9). So, this workout is very beneficial because it strengthens multiple muscles in     your arms.


Proper angle to begin hammer curl. 
While I was performing this exercise I learned several things about improper technique and how to prepare yourself for this work out. The first thing I learned is to always keep your elbow at a 90 degree angle as you raise the dumbbell up towards your shoulder (Delavier 8). If you do not keep a 90 degree angle this can lead to elbow injuries because without the proper angle you are putting too much stress on your elbow.

Another thing I learned during this exercise is it is essential to keep a good posture and to tighten your abdominal muscles while doing this exercise. This is extremely important because if you don't you may injure your back from leaning back and using motion to lift the dumbbells.

Finally, I learned that wearing shoes is also very important even if you are exercise in your home. If you are worried about damaging your carpets I recommend that you buy a exercise mat so you can preserve your clean carpets and keep your parents happy.

Overall, I enjoyed performing this exercise because it is beneficial for improving strength and helps build arm muscle. Since dumbbell curls and hammer curls work the same muscles, which exercise of the two do you prefer to perform?

Works Cited
Delavier, Frédéric. Strength Training Anatomy . Third ed., Human Kinetics, 2010.


Thursday, January 26, 2017

Exercises to Improve Your Game

To be on your game all of the time, you need to make sure that you’re getting in the right work outs. Running is one of the top exercises that will improve your overall game, but some extra work targeting specific muscles will do wonders to your abilities. Ace McCloud, a soccer expert goes in depth on a few workouts that drastically take your talents to the next level.

Squats:
Squats are one of the best workouts for building up your upper leg muscles. According to the book “Soccer Strategies” by Ace McCloud, “Increasing your squat by 50 pounds can add an extra 10 miles per hour behind your kicks” (McCloud 23). Squats are a great workout for strikers, the ones who have the most shots on goal, but are also useful for defenders as well. Having more power in your legs help when trying to body an opposing player off of the ball. If you don’t know what squats are, you begin by standing with your feet shoulder width apart. Keep your spine straight, stick your butt out, and lower your body until the knees are at a 90-degree angle. If you continuously perform squats correctly, you will see an improvement to the power behind your kicks, and your abilities to defend the opposition.


Uphill Runs:
Uphill runs take sprints to the next level by working out new muscles of the leg. When first performing these exercises your legs will become very sore the next day. This happens because you never work these muscles out. Uphill runs are a great workout because it doesn’t require any extra equipment, all you need is a nice sized hill to become a faster, stronger, and more athletic player. Adding speed to your game helps every position on the field not only on the defensive end, but also on the offensive attack.


There’s hundreds of different workouts that soccer players can do to become faster, stronger, and overall improve their game. These are just two examples that one can do without all of the fancy equipment that the pros use. After reading this blog post did it motivate you to want to get out there and work on your game? Maybe even try one of the workouts out?


Wednesday, January 25, 2017

Smart Defenders and Base-running

FIELDING

I've been playing baseball all my life and still haven't perfected the art of catching a fly ball. To me, judging where a fly ball is going to land is the hardest thing to do as a defender on the field. Although my main position is in the outfield, I can tell that an outfielder gets a much larger applaud from their team when they catch a fly ball than infielders do when they simply field a grounder. Adair agrees that a ball hit straight to a player is the most difficult to judge and balls that are hit at different distances can look fairly similar initially (148). If you've ever played on a baseball team for more than a year, you've definitely heard the overused phrase "first step back". This line is said by almost every team to express how you must make stepping back your first instinct the moment the ball is hit because you can cover more ground running forward than you can from behind. "If he waits a couples of seconds to start running, he won't cover the 50 feet he needs to in order to catch the short fly that lands after another 3 seconds" (149). Outfielders have to make judgments, calculate distances, and maintain certain fundamentals in the matter of seconds while under the pressure of catching a ball. Unlike the infield, outfields don't have someone behind them to back them up if they make a mistake.

Basic fielding techniques for ground balls
Infielders have more plays to handle during a baseball game than outfielders do. I personally have not played a lot of infield recently and still struggle with fielding even an easy ground ball. There are many complexities with fielding and throwing a baseball during one single play. "A ball thrown 135 feet by the shortstop or third baseman to the first baseman's glove will take about 1.09 seconds. A player who throws a ball 5 mph slower will allow the runner to travel 2 feet farther" (155). This two foot difference will play a big role in an umpire calling the runner safe or out. To practice strengthening my arm and fielding tactics, I find it effective to throw a tennis ball against any large surface to practice basic fundamentals. The more comfortable I feel when I field a baseball, the greater the chance that I will make a better throw during a game. So, consistently practicing allows me to stay in my comfort zone even during pressure-filled moments.

Outfielders provide a strong line of defense that their entire team depends on during a game. Infielders are consistently pounded with plays that they must routinely make. Which position do you believe has the harder job during a game?

Adair, Robert Kemp. The Physics of Baseball. New York: Harper & Row, 1990. Print.

Wednesday, November 30, 2016

The First Strategy for Becoming a Better Soccer Player

Growing up, I was involved in many different sports and soccer was one of the biggest ones. In second grade I made the switch from soccer to football and kind of regretted it. That’s why I chose the book “Soccer Strategies,” by Ace McCloud. I have an athletic background so my footwork is good, but that’s only the basics that’s needed to become a successful soccer player. I’m not trying to be the next Cristiano Ronaldo, but being able to impress my family and friends who are soccer lovers would be pretty cool. The book “Soccer Strategies,” claims to have “The Top 100 Best Ways to Improve Your Soccer Game.” Having this on the cover really caught my eye and it seemed to be exactly what I needed.
               The first strategy the book lists is the endurance of the player. Page 13 tells us that it is highly recommended that players have an activity outside of soccer that keeps them in shape and conditioned (McCloud 13). Luckily for me, I play basketball at Kentridge. Coach Jamison doesn’t take conditioning lightly, and has us run for very long periods of time. This is a bonus for me because my endurance and stamina will most likely be higher than someone else that didn’t play a sport in the off season.
               Ace McCloud also offers helpful YouTube links that give a visual representation of great workouts that can be done to improve your endurance. One example of Ace’s helpful tips also comes from page 13, when he says “Here is a good YouTube video from MOVE-MENT you can check out called: Run Faster in one week! DO THIS!!!” (McCloud 13). I’ve only been doing these workouts for a few days but I’m already starting to see some results. I’ve become quicker on feet and have started coming in first during conditioning at basketball practice.


               So far, this book has taught me many things that are needed to become a better soccer player. It covers everything from what you eat, your mentality, physical abilities, and drills that will help you become better with dribbling and shooting. 

What do you guys do to stay in shape and maintain endurance? Is soccer one of the most popular sports at Kentridge? Slide your opinion in my comments👍

McCloud, Ace. Soccer Stategies. N.p.: n.p., n.d. Print.