Showing posts with label Jackie Lu. Show all posts

Friday, January 27, 2017

You Can Knit: LEAN MEAN KNITTING MACHINE!!


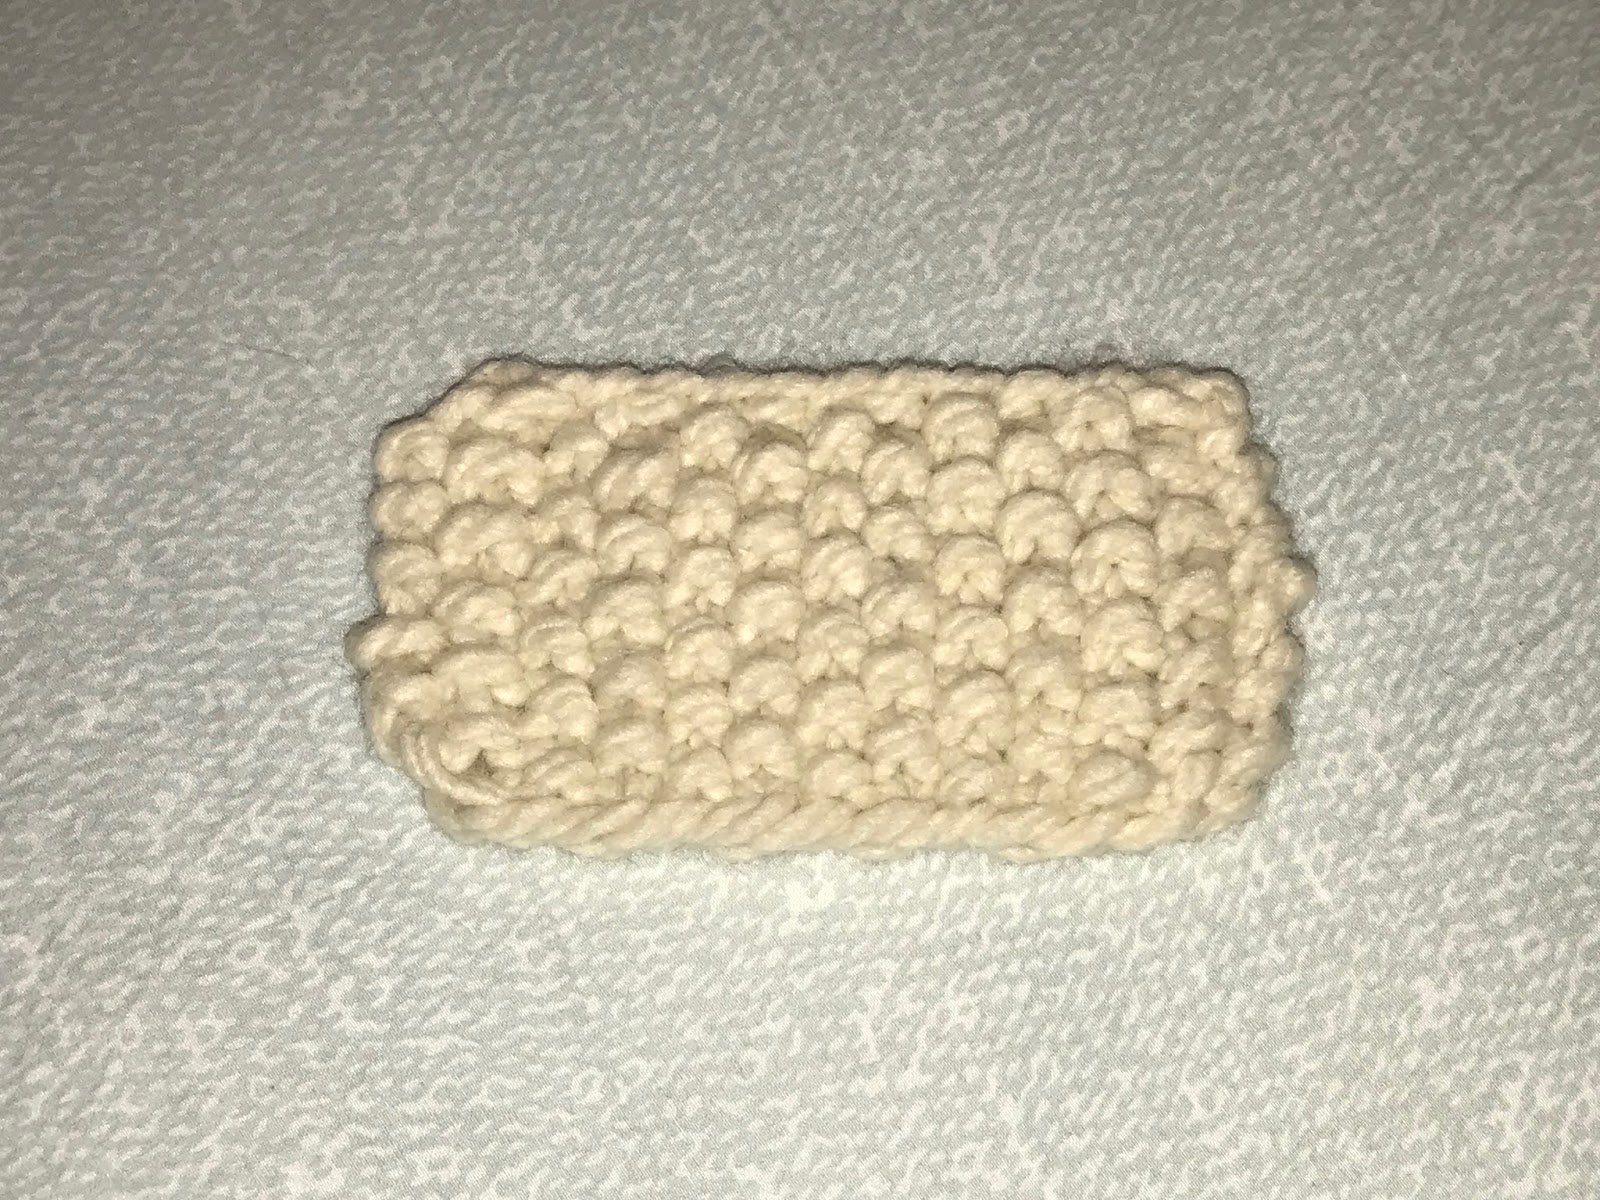
Finally, after making four different swatches, I am now ready to make an actual project. In this blog, I will show you how I made this cool color block scarf. Out of all of the projects in my book, I chose the color block scarf. I chose this scarf because I liked the pattern and it looked cool in the book. This scarf was pretty easy to make because it used the easiest stitch which was the garter stitch. The only thing that I disliked about making this scarf was how boring it was. It was boring because it was very repetitive.

Color Block Scarf


Materials

-        1 skein of super bulky yarn (any color)
-        1 skein of super bulky yarn (a contrast color to the first skein of yarn)
-        Size US 10 knitting needles
-        Tape measure
-        Yarn needle
-        Scissors
-         Yarn needle

Gauge

-        11 stitches x 26 rows = 4”

STEP 1

If you don’t already know what the first step is, I don’t know what to say. The first step it to cast-on, obviously. For this scarf, you’ll need to cast-on 10 stitches. Use your contrast color for the first part of the scarf.

STEP 2

Knit with your contrast color until it is 7 ½ inches long.

STEP 3

Now it’s time to add your main color onto the scarf. Cut the contract color from the yarn, leaving about a 6-inch tail. Take you main color, and tie a knot around the tail of the contrast color and continue knitting.

STEP 4

Continue knitting with your main color until you reach 47 inches. A tip while doing this step it to "stop every few rows to count the stitches on your needle and make sure you haven't added or dropped any" (White 32). Doing this will help you catch your mistakes, and  if you catch them earlier, it'll be easier to fix.

STEP 5

Repeat step 3 to change back to you contrast color. Knit you contrast color for another 7 inches. To keep the scarf consistent "make sure you join the yarn on the same edge you did previously" (White 33).

STEP 6

The final step is to bind off and weaving in the ends. Undo all of the knots throughout the scarf that connect the main and contrast color, and weave them in. now bind off the end of your scarf.

NOTE: If you do not know how to bind off and weave in the ends, check out my very first blog post for detailed instructions.

STEP 7 (optional)

For this optional step, you can make pom-poms to attach to the ends of your scarf. I skipped this step because I prefer my scarf without the pom-poms. 

 After reading my blog(s), would you consider knitting?

White, Stephanie. You Can Knit!: Knit and Purl Your Way through 12 Fun and Easy Projects. Cincinnati, OH: Fons & Porter, 2015. Print.

Tuesday, January 24, 2017

You Can Knit: WOOL YOU CHECK THIS OUT?


Gauge Swatch: Bulky 2x2 Ribbing

Welcome to my third blog post! In this blog I’ll show you how I learned the classic ribbing look. Like the worsted stockinette stitch, this was also another difficult pattern to learn. The first problem was that my yarn was too bulky which made it difficult to see the pattern. This confused me even more than I already was. My second problem was that I forgot I had to knit and purl. I couldn’t remember whether or not I had to knit or purl, which caused me to redo my swatch over and over again. To solve my problem, I learned how to frog which allowed me to correct my mistake without having to restart my swatch. 

Materials:

-        Bulky yarn
-        Size US 9 needles
-        Measuring tape
-        Scissors
-        Yarn needle
  
      Problem 1: There are 3 types of yarn thicknesses, medium, bulky, and super bulky. My book suggested for me to use bulky yarn, but i had only had super bulky yarn from a previous project. I knew the yarn thickness didn't matter that much, but as a beginner, using bulky yarn would've made making this swatch a little easier.

Gauge:

-        16 stitches x 20 rows = 4” square 

STEP 1

As always, the first step to creating any knitting project is casting on. For the ribbing swatch, you’ll need to cast-on 16 stitches


NOTE: For the ribbing pattern you will need to know how to knit and purl. To learn how to knit check out my first blog post and to learn how to purl check out my second blog post.

STEP 2

With the empty needle in your right hand and the needle with the stitches in your left, knit 2 stitches.

STEP 3

Take the ball end of the yarn and bring it to the front in the middle of both needles. Now purl 2 stitches.

STEP 4

Take the ball end the yarn and bring it to the back behind the right needle. Now knit 2 stitches. After you knit 2 stitches bring the ball end of yarn to the back behind the right needle.

STEP 5

Repeat steps 2-5 until you complete the row. Then place the empty needle in your right hand, and the needle with stitches in your left hand. you guys know the drill.

STEP 6

To begin the next row, you have to determine if you’ll have to knit or purl first. “Look at the stitches on your needle, if they’re smooth, knit them” (White 73). Repeat step 5 to until you reach your desired length for your swatch.

Problem 2: This is where  my second problem occurred. I was having trouble figuring out which stitch to do, the purl or knit. After I had found out I did the wrong stitch first I had already finished the entire row. Later on, I learned a method called frogging which allowed me to fix my mistakes.
For the frogging method, take the needle with the stitches and slide the stitches off the needle. Take the ball end of yarn and slowly unravel the stitches to a point before your mistake occurred. Be sure to unravel until the end of your row. Once you are done unraveling slide the needle back onto the stitches. Make sure that you begin with the stitches at the end of the row, and not the beginning (White 120). 

STEP 7 

To finish your swatch you need to bind off. To learn how to bind off, check out my first blog post for detailed instructions. After you bind off, you're done with your new swatch!

What do you do to help fix your mistakes?

White, Stephanie. You Can Knit!: Knit and Purl Your Way through 12 Fun and Easy Projects. Cincinnati, OH: Fons & Porter, 2015. Print.

Sunday, January 1, 2017

You Can Knit: I Couldn't Think of any Knitting Puns


I’m usually pretty good at coming up with puns, but for this particular swatch I couldn’t think of anything. In this blog post I'll be demonstrating how I learned the seed stitch. This is called the seed stitch because it looks like there are seeds woven within the pattern. Learning this was pretty easy because it was just alternating between knitting and purling. It was very relaxing making this swatch because it was easy and knitting is pretty relaxing in general. So grab yourself some yarn and needles, play some Kehlani and you're set for a relaxing day.

Bulky Seed Stitch


Materials:

-        Bulky yarn
-        Size US 10 needles
-        Measuring tape
-        Scissors
-        Yarn needle 

Gauge

-        16 stitches x 21 rows = 4” square 

STEP 1

The first step to making the seed stitch swatch it to cast-on. You will need to cast on 13 stitches. 

STEP 2

Place the needle with the stitches in your left hand, and the empty needle in your right.

STEP 3

Knit the first stitch.

STEP 4

Take the ball end of the yarn, bring it towards the front, and purl the next stitch. When you bring the yarn to the front, be sure to go “under the right needle” (White 97).

NOTE: If you want to learn the purl knit check out my BLOGMAS blog post!

STEP 5

Bring the ball end of the yarn back to the back and knit the next stitch.

STEP 6

Continue working across the row alternating between knitting and purling. The first and last stitch of your row should always be a knit stitch.

STEP 7

Repeat steps 3-6 until you reach your desired length for your swatch.

STEP 8

Now for the final step, time for binding off and weaving in the ends! You guys know the drill. If you don’t, check out my very first blog where I go into detail about binding off and weaving in the ends.


What do you do to have a relaxing day?

White, Stephanie. You Can Knit!: Knit and Purl Your Way through 12 Fun and Easy Projects. Cincinnati, OH: Fons & Porter, 2015. Print.